Plot your points on the map using the smallest possible mark and write down all the information on either a small index card or tear a sheet off your notebook and place this inside the map case for quick reference.
Moving Out with a Purpose: One of the things that you’ll have to get good at and quickly is being able to move out in the darkness and cover some ground. Special Operations Forces own the night and the only way to get really good at it is to practice.
And the most useful feature of your compass at night is the bezel ring. If you’re following a basic azimuth, rotate your bezel ring so that your North seeking arrow aligns with the luminous bubble. So, say if you are traveling on an azimuth of 65 degrees, your North seeking arrow will be in the approximate 10 o’clock position, rotate the bezel ring so the bubble aligns with the North seeking arrow and it is a quick way to keep on your azimuth, especially in the dark.
Also, remember that each click in the bezel ring is three degrees. Keeping your compass at waist level now will allow you move out. Once the luminous dot and the North seeking arrow are aligned you are moving in the right direction.
If the terrain and conditions allow it, then shoot a point in the distance and move to it. But as we said above, you don’t want to use dead reckoning for long distances in the dark. Once you get better at it, terrain association is faster, easier and will allow you to find your way without getting lost. Your pace count then becomes just another way to check your progress and reference where you are on your map checks.
Just a few reminders, your visual range estimation is likely to be well off during the darkness. And your pace count, depending on the terrain is likely to vary a bit. And finally, your natural drift will likely be intensified in the dark, you’ll quickly find this out as you find yourself on the course. One way to combat this and I’ve heard this works for many navigators is to change hands holding your compass frequently.
Avoid the draws if you can, but if you have to, cross one check your compass every 20-25 paces as it is easy to get turned around in those things. There have been a ton of students out there, if you see a well-worn path that cuts across a draw, it probably means that the students before you have found the path of least resistance across the draw and I’d take advantage of that.
At Selection, an SFAS cadre member will be at the points to check you in and give you the next point on the course, but occasionally you’ll come across those green Engineer stakes with a tag on them. They’re land navigation points for the SFQC. Take the time, stop, and use the eight-digit grid on them to help you pinpoint your location. That is just like having a built-in GPS on the course. Those are placed in exactly where they’re supposed to be and they’re a great tool to use.
Red lens flashlights only! Don’t talk to other students while on the course but once you are done with the events of that particular event during the practice navigation, sit down and disseminate the information about what you saw and experienced with the other candidates. That is a good way to find out potential trouble spots and avoid them if possible.
Trust your map, pace count, and your azimuth as you move out on the course. And never let doubt creep into your mind. Your map and compass aren’t going to lie to you on the course. Your training and keeping a cool head will get you thru this. Thousands of SOF guys before you have done this and you can too.
You’ll become very familiar with many of the names and places on the map. Several remain from my time but there are a few new ones as well.
Five Points
Puppy Palace
Lake Baggett
Bones Fork Creek
3 Wire Road
Jurassic Park
Scuba Road
Dagobah (I don’t know who named this area in the north, but it is absolutely brilliant.)
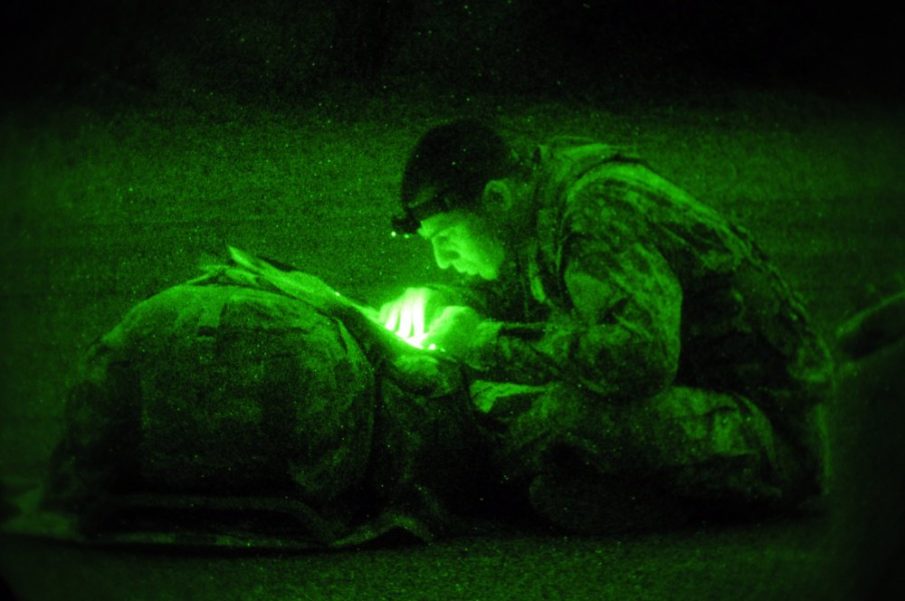
Photo Courtesy of DOD
This article was originally published on SpecialOperations.com and written by


COMMENTS