

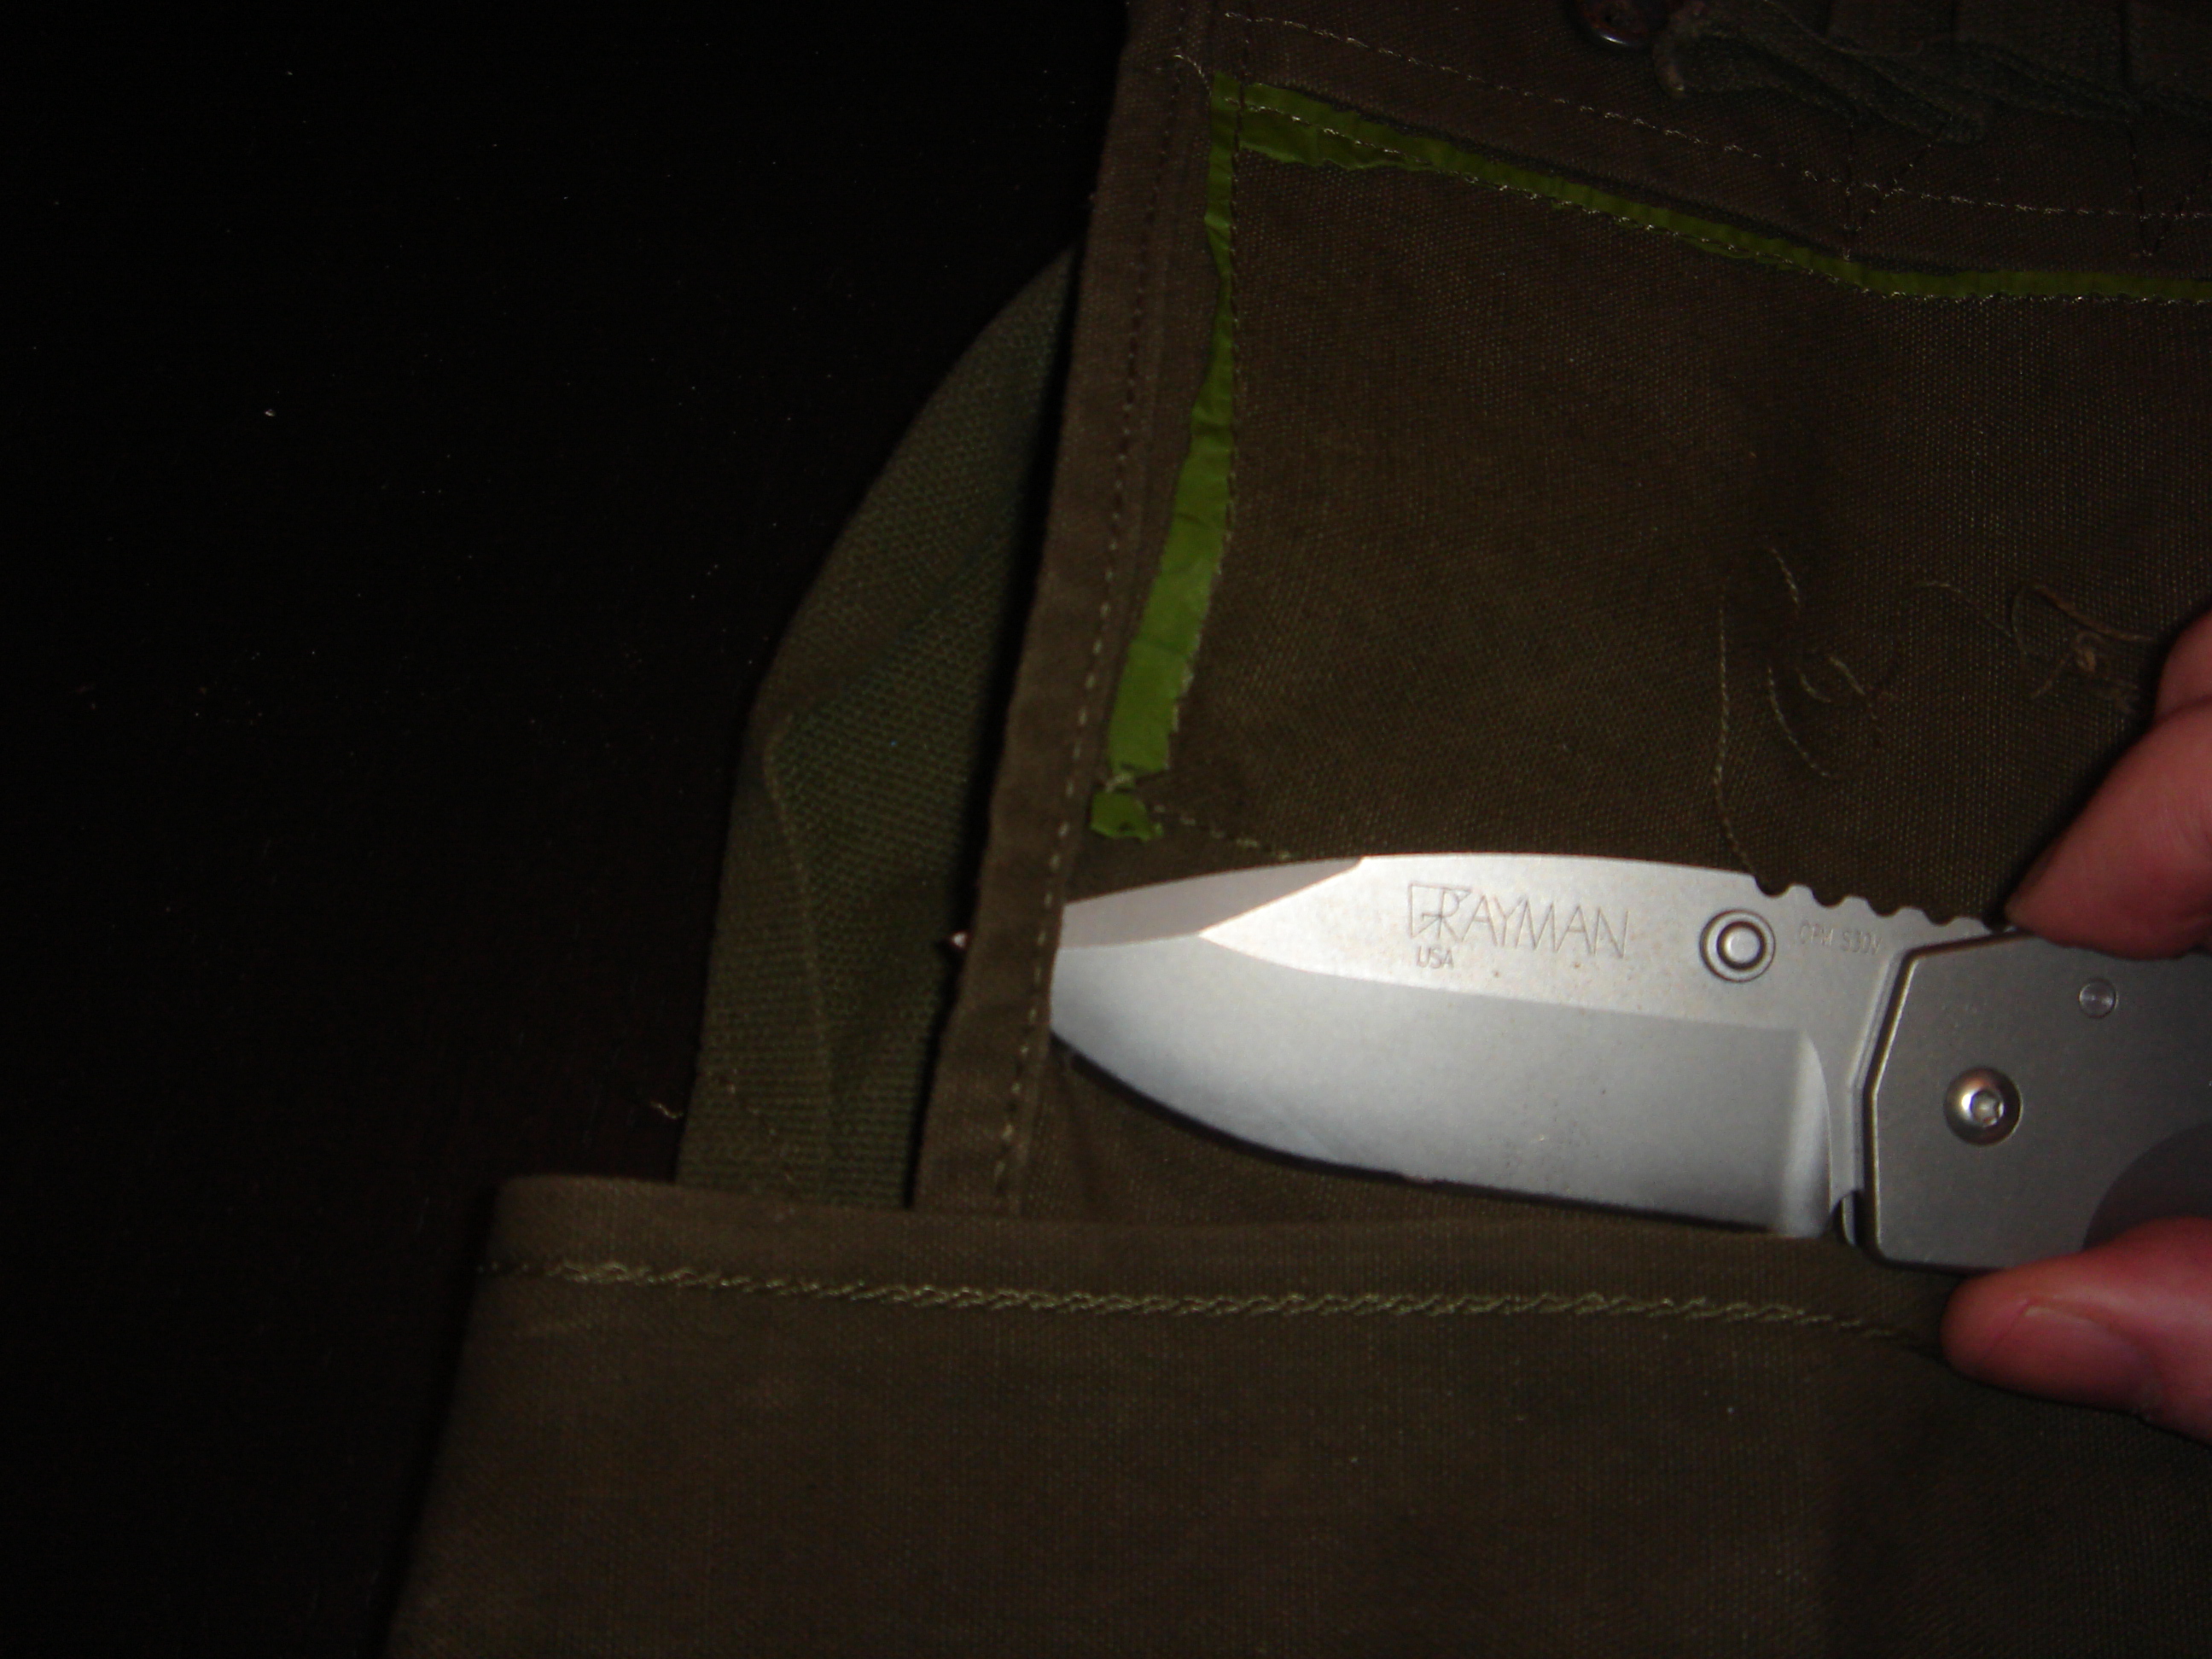
Step 3: The Claymore bag is partitioned down the middle into two pouches, one for the Claymore mine and one for the wire with blasting cap, clacker, and test set. We need to cut down this partition so that we have one big pouch in the bag.
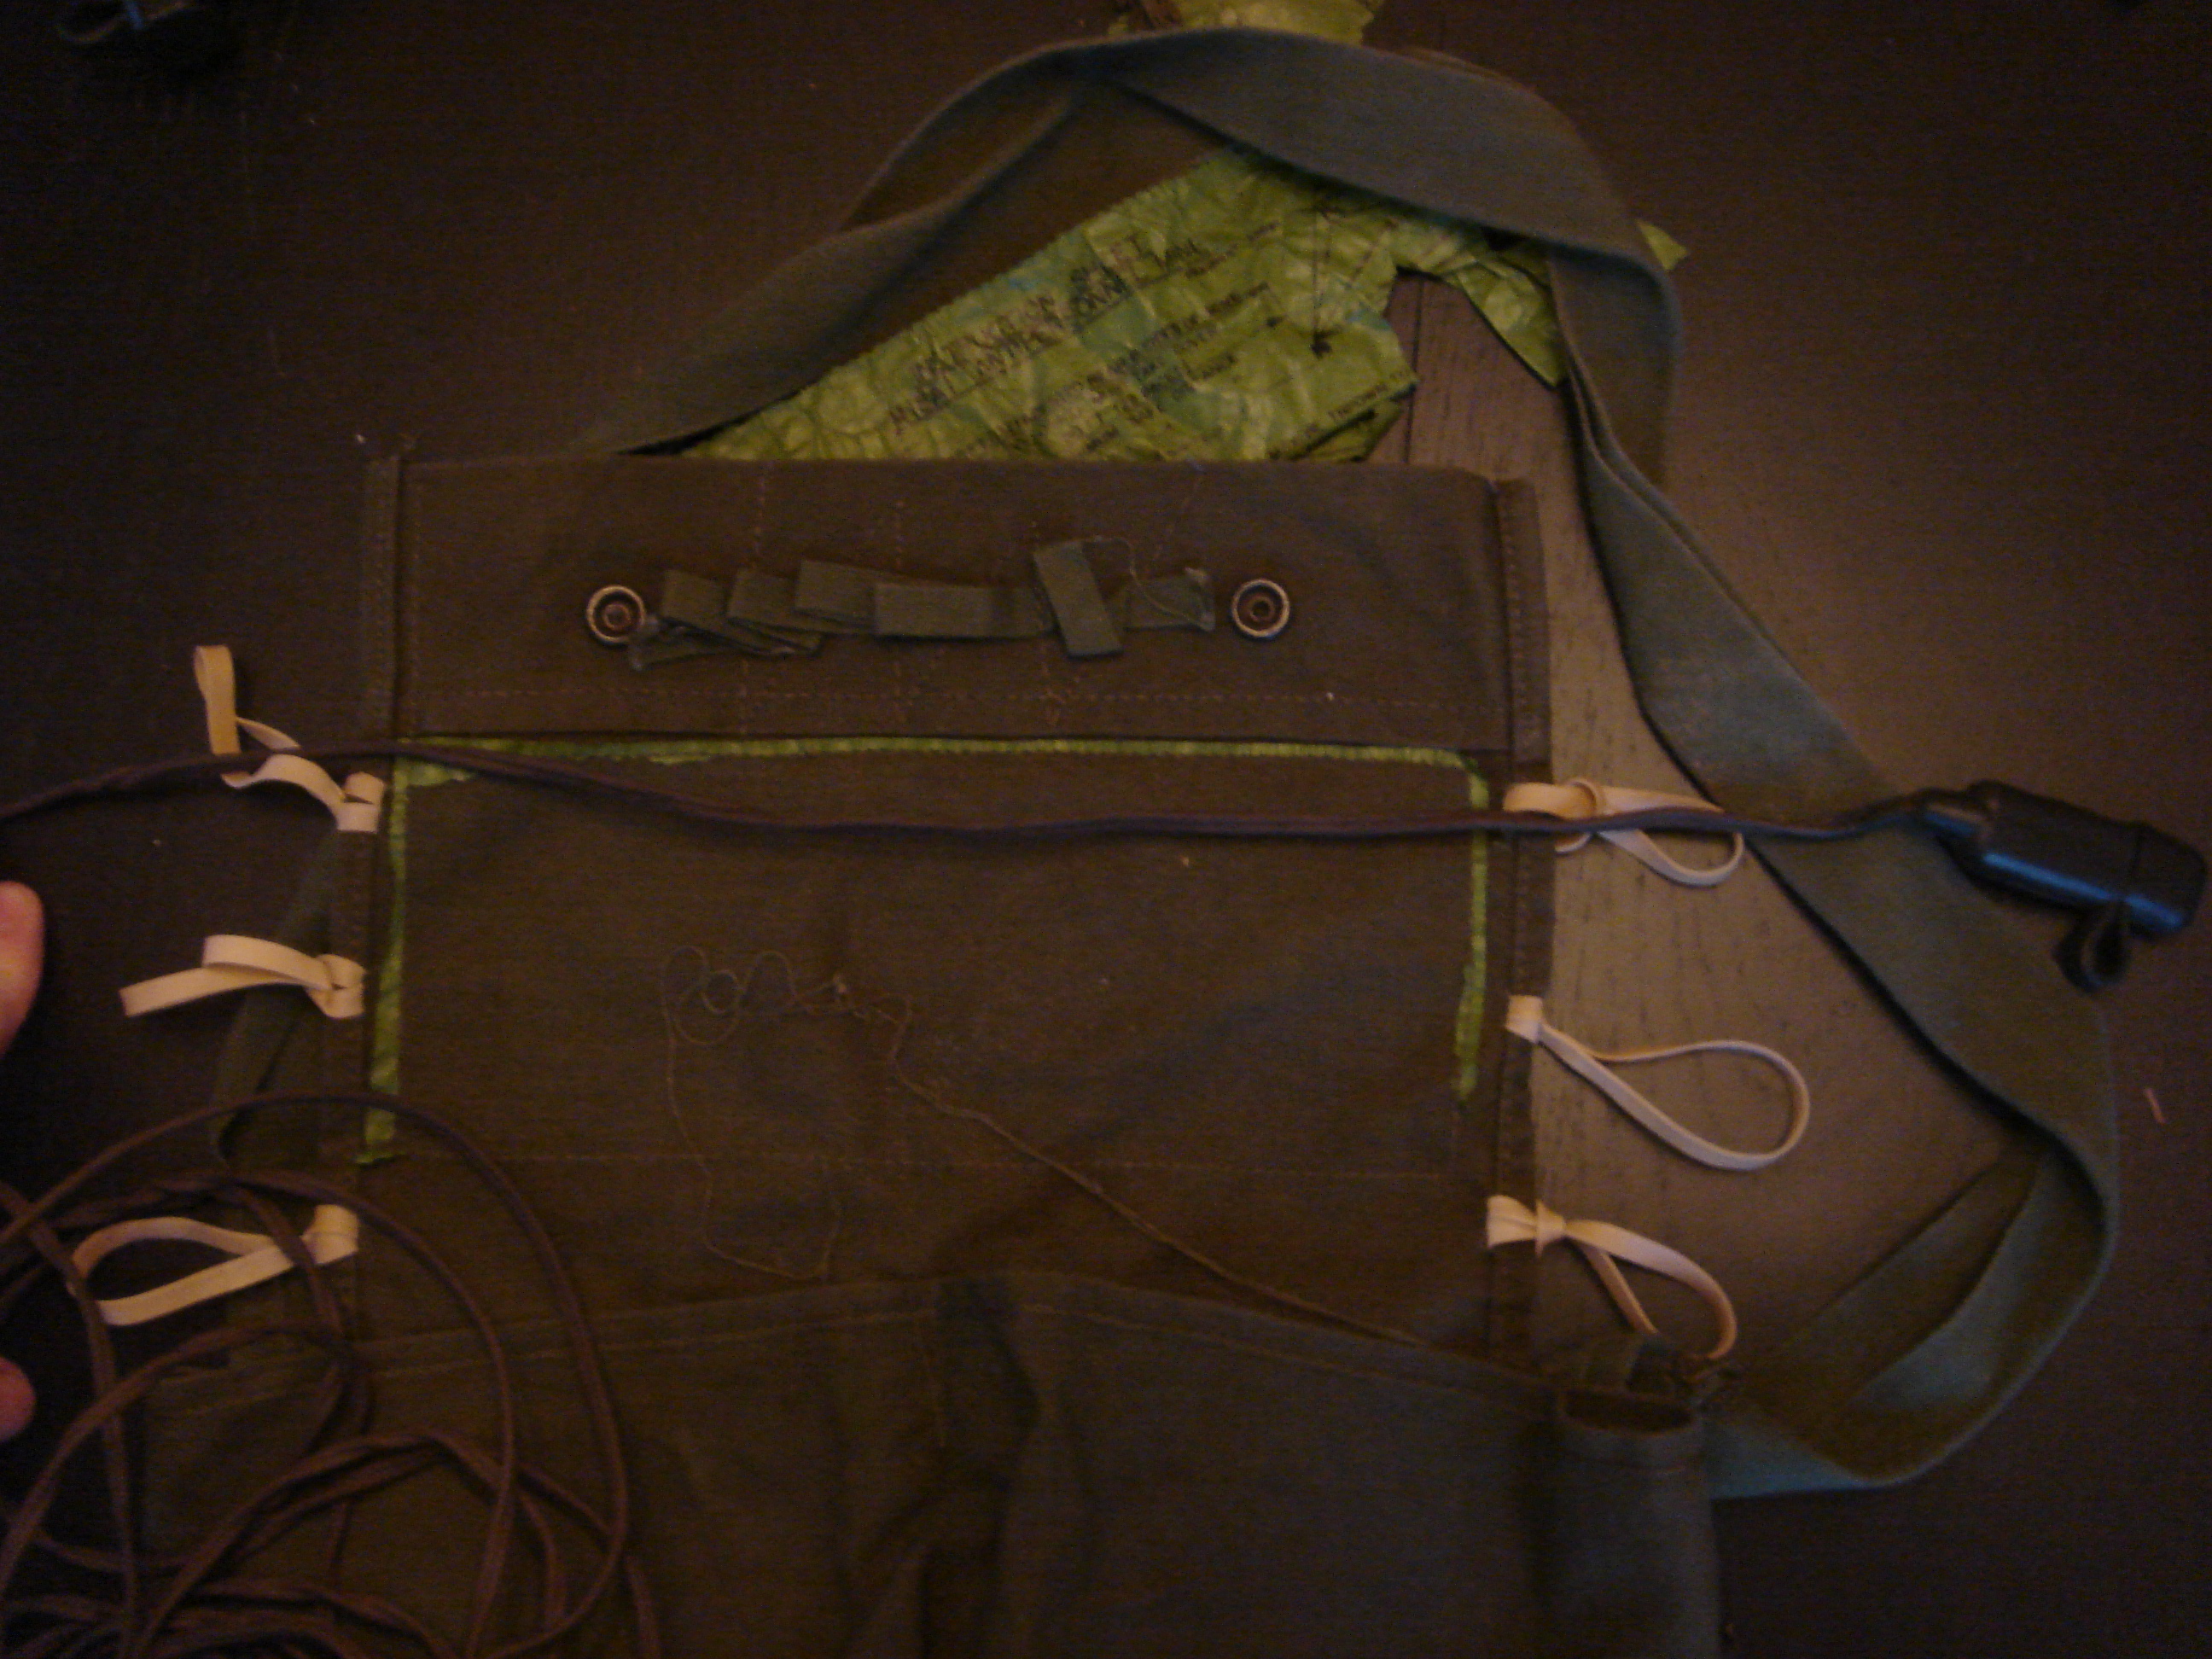
Once your Claymore bag looks like this you will be ready to go on to the next step.
Step 4: Extend the legs of the Claymore mine and put it in the bag to see where the legs poke into the bottom.
Use your knife to cut slits in the bottom of the bag and ensure that the legs of the mine can slide through.
Step 5: Back to the lid of the bag. Cut slits up both sides of the lid, three on each side. Make sure that they are equally spaced apart and don’t go past the buttons.

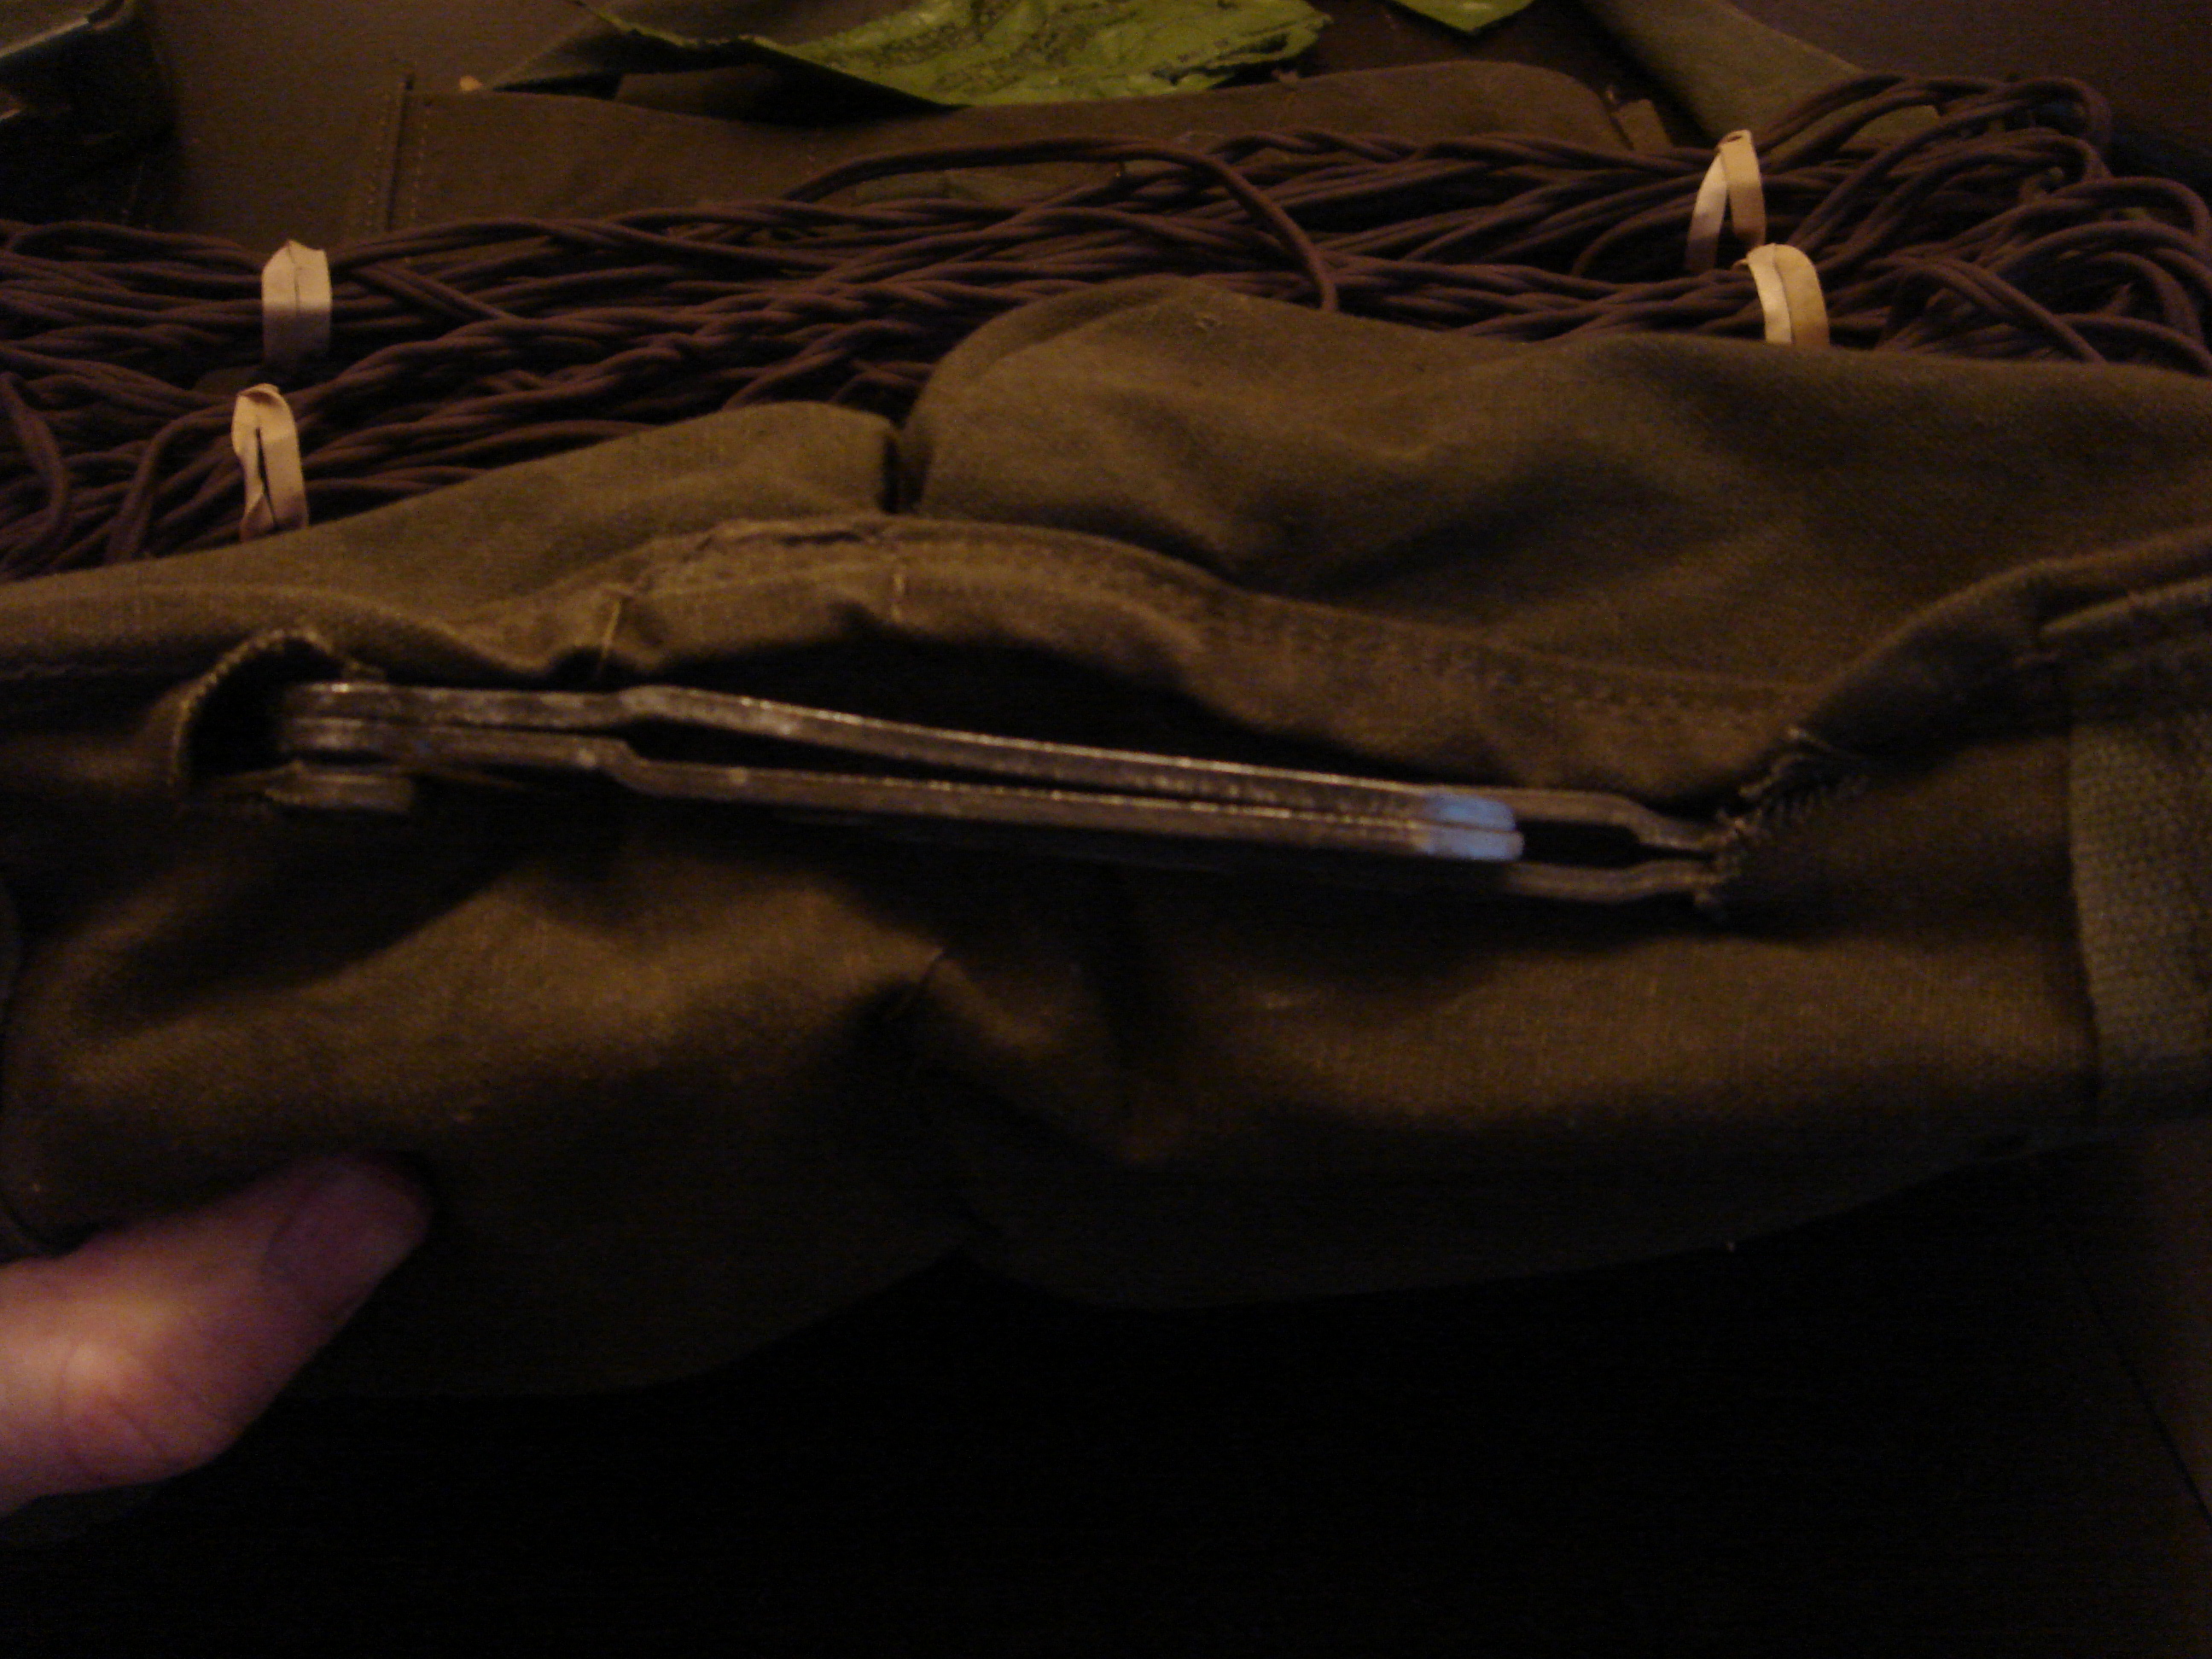
Step 6: Take the rubber bands and loop them through the slits that you made in the cover, then loop the bands back on themselves, making a bite around the fabric of the lid. Do this for each of the six slits that you cut.
Step 6: This is where it gets a little tricky. Figure out how much length of the Claymore wire covers and surpasses the length of the lid. In my case, I can wrap the cord around my elbow and over my palm to make a spool, and that fits nicely for our purposes. This might require some experimentation on your part to get it right. You will need to make three separate wraps that will be locked into place with the rubber bands, so plan ahead.
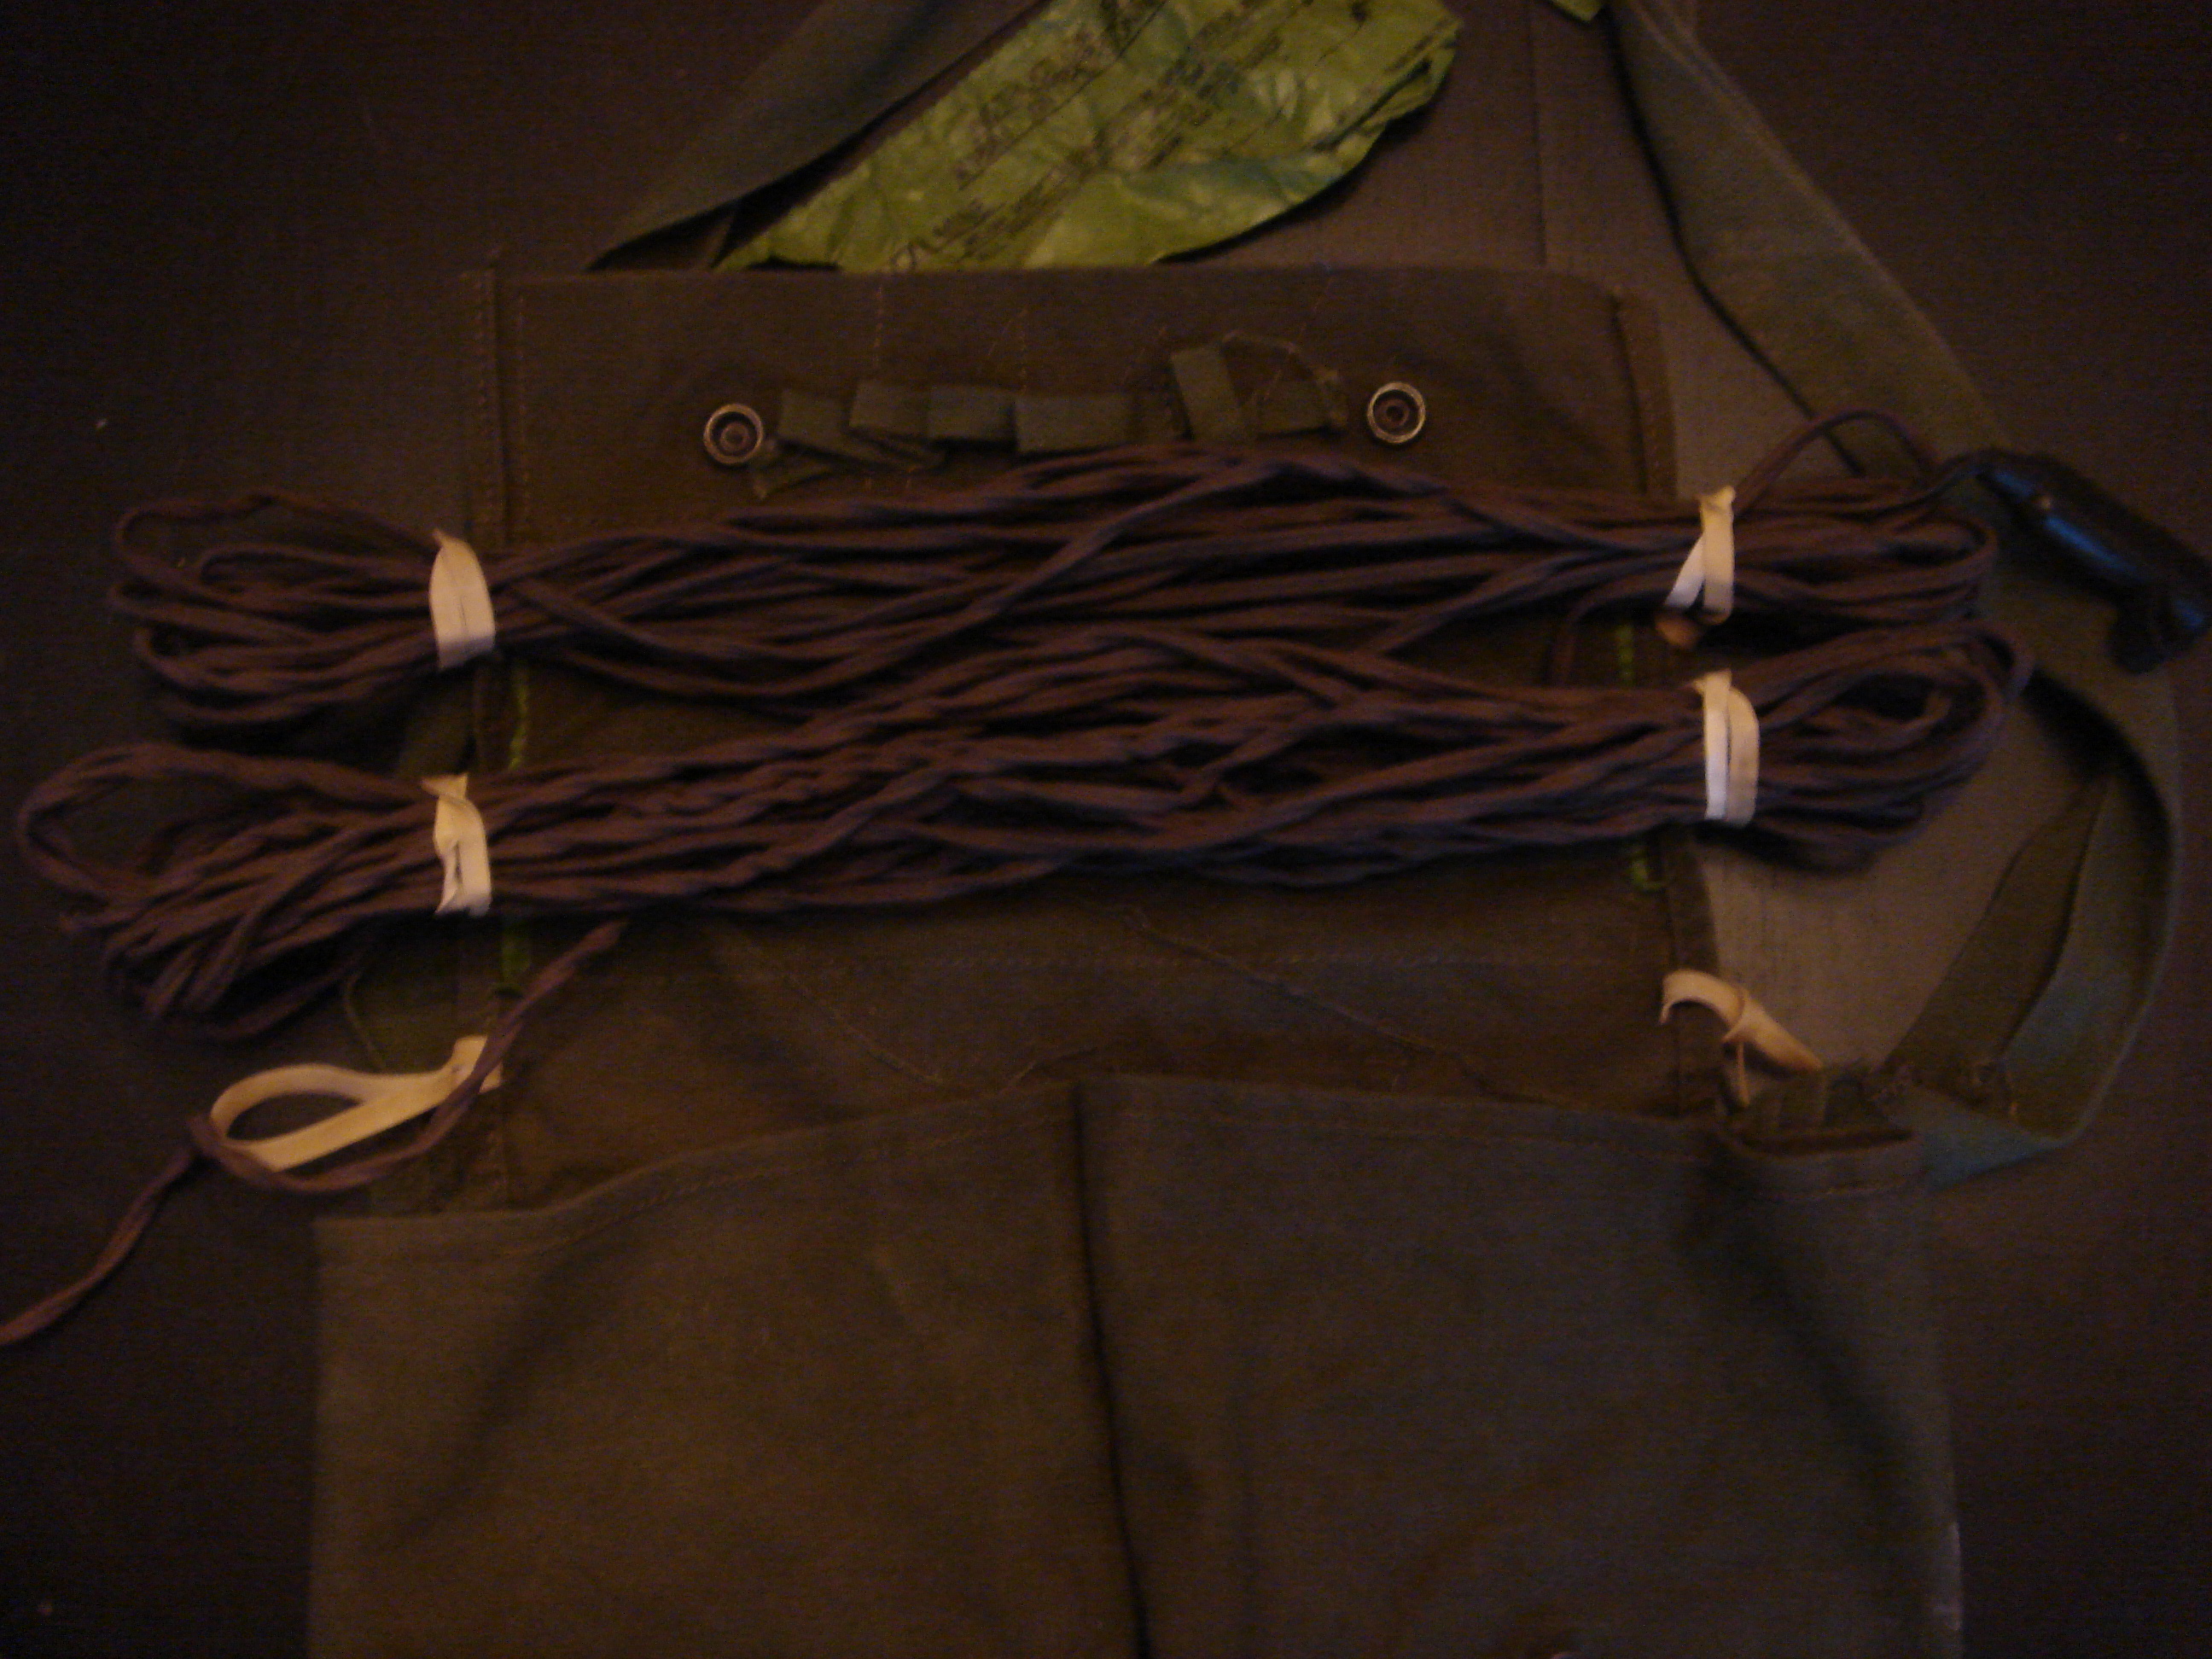
Start stringing the Claymore wire back and forth. Once you get enough wraps, separating the wire equally into thirds, go ahead and lock the ends into the loops of the rubber bands. You may need to twist the rubber bands and loop them back around the wire a second time to make sure it’s in there nice and snug.
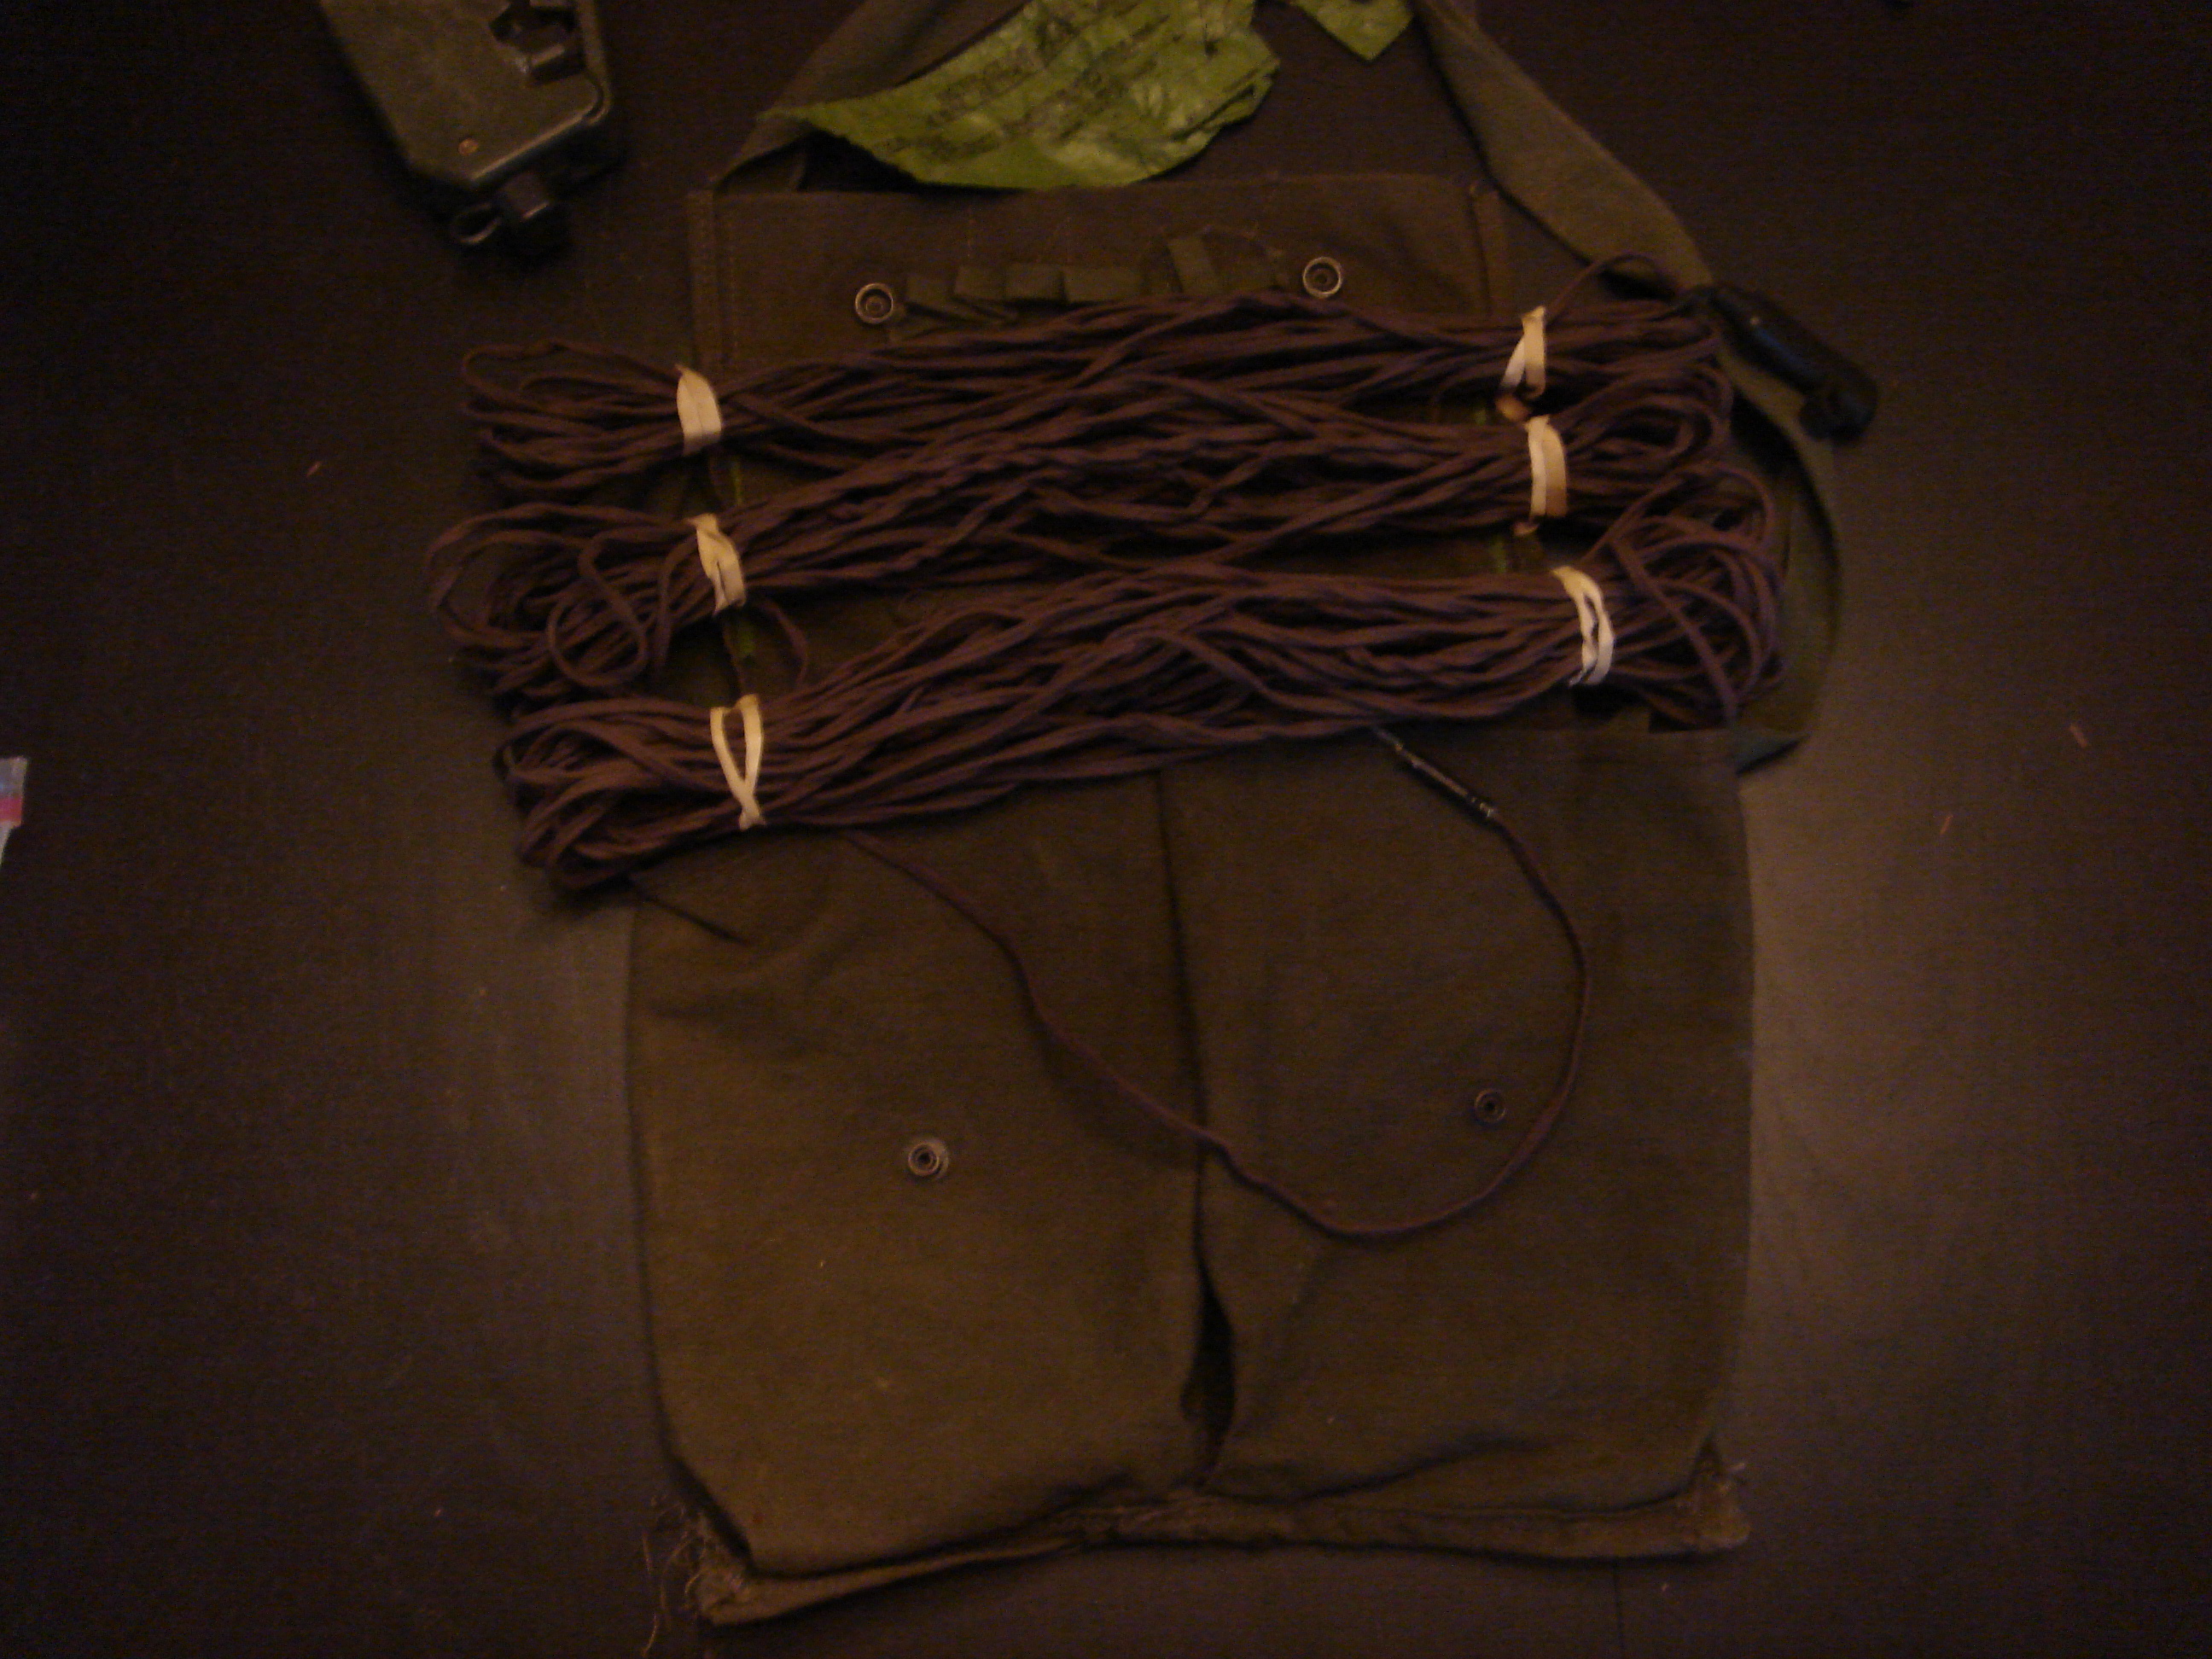
This is what it should look like when you are done. During this process it is critical that you are careful with the blasting cap when doing this with a live mine. When I worked with live demo, I’d keep the cap inside the plastic spool that the wire comes on for safety purposes.
Step 7: Put the Claymore mine back in the bag, push the metal legs through the slits you cut in the bottom, and fold them down and out of the way for transportation.

Step 8: Arm the mine. Screw the blasting cap into the mine when appropriate. This depends on unit SOP, so if you Privates out there need to check with your Squad Leader before you Sua Sponte this! Army regs say that no charges or explosives can be primed with initiation systems until they are going to be used. Most SOF units these days are priming their charges on the FOB beforehand and rolling out to their targets. How your unit does is METT-T (situation) dependent.

Here is the finished product, you’ve dropkicked a claymore mine. The mine can now be carried by the sling or kept on an external pouch on a rucksack. When a small recce patrol makes contact and can’t wait for air support, it’s time to use this bad boy. Extend the claymore legs, stick it in the ground (THIS SIDE FACES ENEMY), pull however much wire you need to get you behind cover and concealment, run to cover, pop the shipping plugs, and attach the clacker. Once a pursuing enemy closes in on your position, you know what to do!


COMMENTS